

To see related guide, press the link of the relevant product you want to install.
Let’s Install CELF!
1. Please download the following CELF Installer.
2. Run the downloaded CELF installer(CELF_Setup-cloud.exe).
※ If any installation error occurs, disable your antivirus software and client firewall temporarily, and try to install again. Remember to re-enable your antivirus and client firewall after the installation.
*We have confirmed that if SS1 (System Support best1) is installed, an error occurs when running the CELF installer. If an error occurs, add the following folder to the exclusion settings of the SS1 management client and then install again.
C:\Program Files (x86)\Curl Corporation
For details on how to set this up, please contact the SS1 support desk.
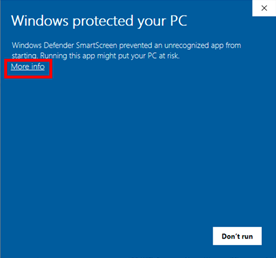
When running the installer under Windows 10, the following dialog may be shown.
| Older Windows | Newer Windows |
|---|---|
|
Click the “More Info”. |
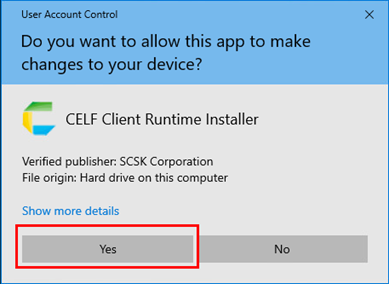
Then Press “Yes” button to start installation |
|
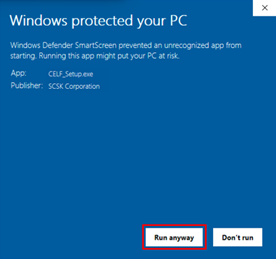
Press the “Run anyway” button. |
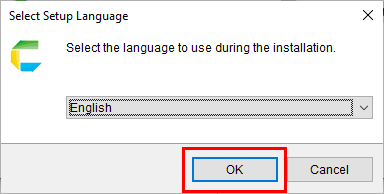
3. In the following screen, select the language you prefer and click “OK” button to proceed.
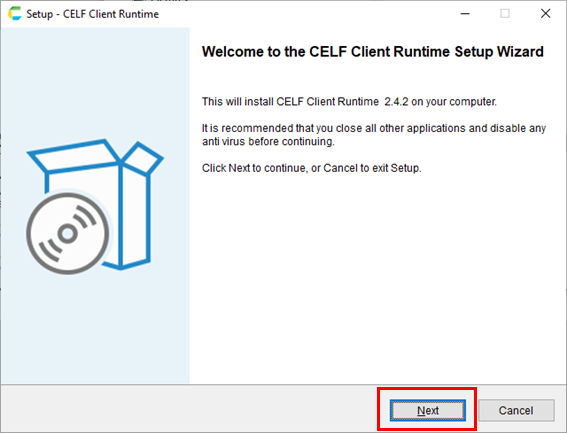
4. Press “Next” button on the following screen.
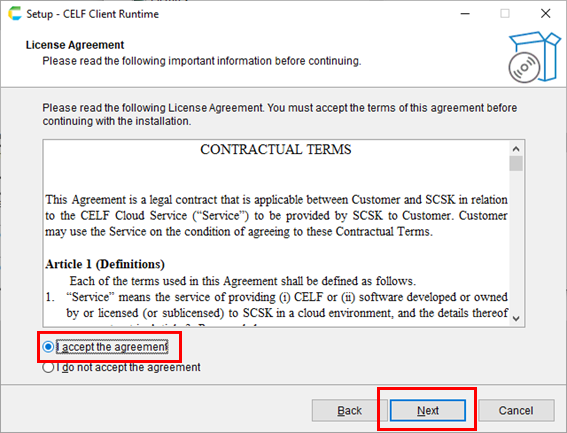
5. Read the license agreement, if you agree, select “I accept the agreement” radio button, then press “Next” button.
6. Confirm that the following string are shown by default, then press “Next”.
Server Address:cloud.celf.jp
「Connect with SSL」 is checked.
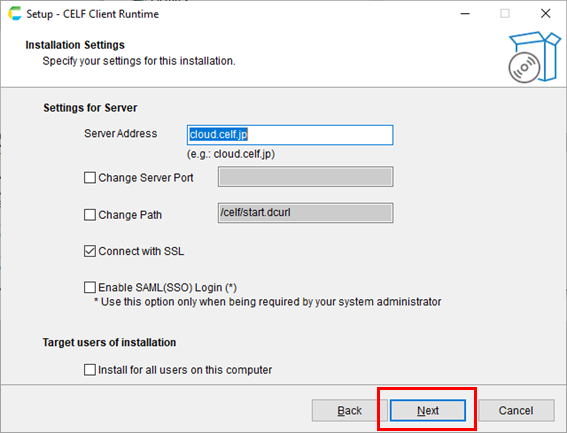
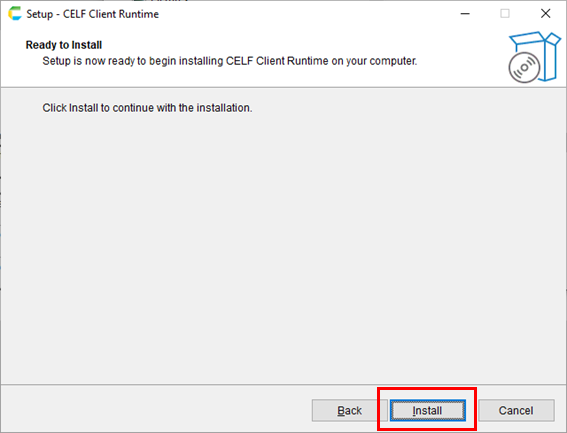
7. Click 「Install」 button
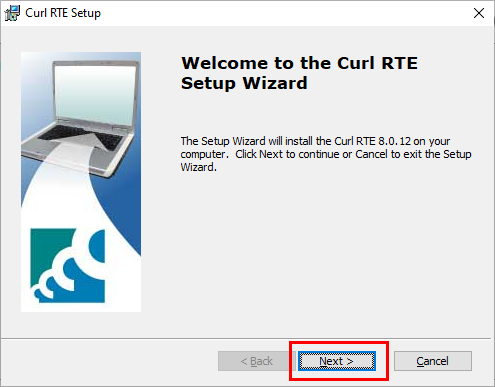
8. Installation of “Curl RTE” will be started automatically, click “Next”.
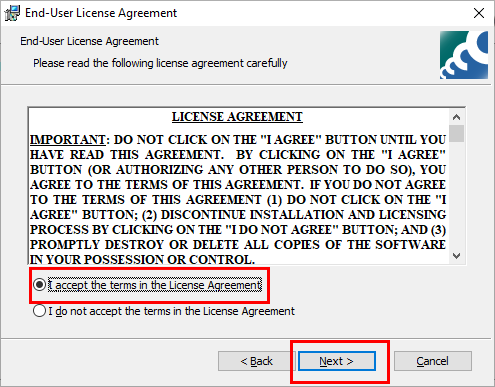
9. Read the license agreement, if you agree, select “I accept the terms in the License Agreement” radio button, then press “Next”.
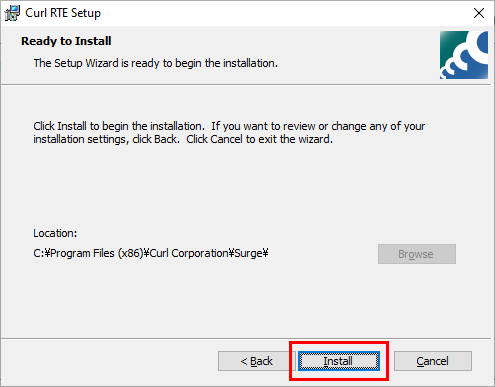
10. Press “Install” button.
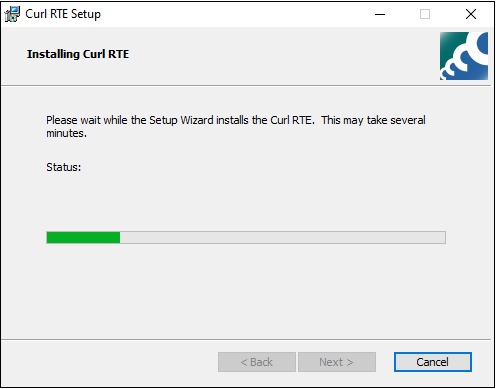
After pressing “Install” button the following screen will show up.
Once the Curl RTE installation is finished, the screen will disappear, please just wait.
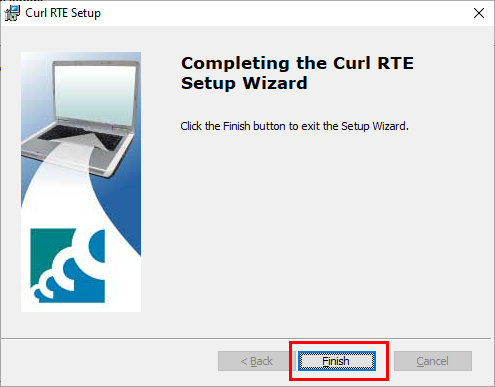
11. Click “Finish” button to complete the installation of Curl RTE.
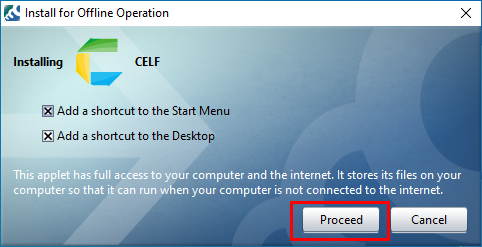
12. In the following screen, again click “Finish” button, and wait some time for the next screen to show.

13. Click “Proceed” button.
Installation for running CELF service now finished, CELF will be run automatically shortly after.
Let’s run CELF!
1. If you have closed CELF after the above installation, you could still run CELF by double-clicking CELF icon on desktop, or from system menu.
Then wait for CELF loading.
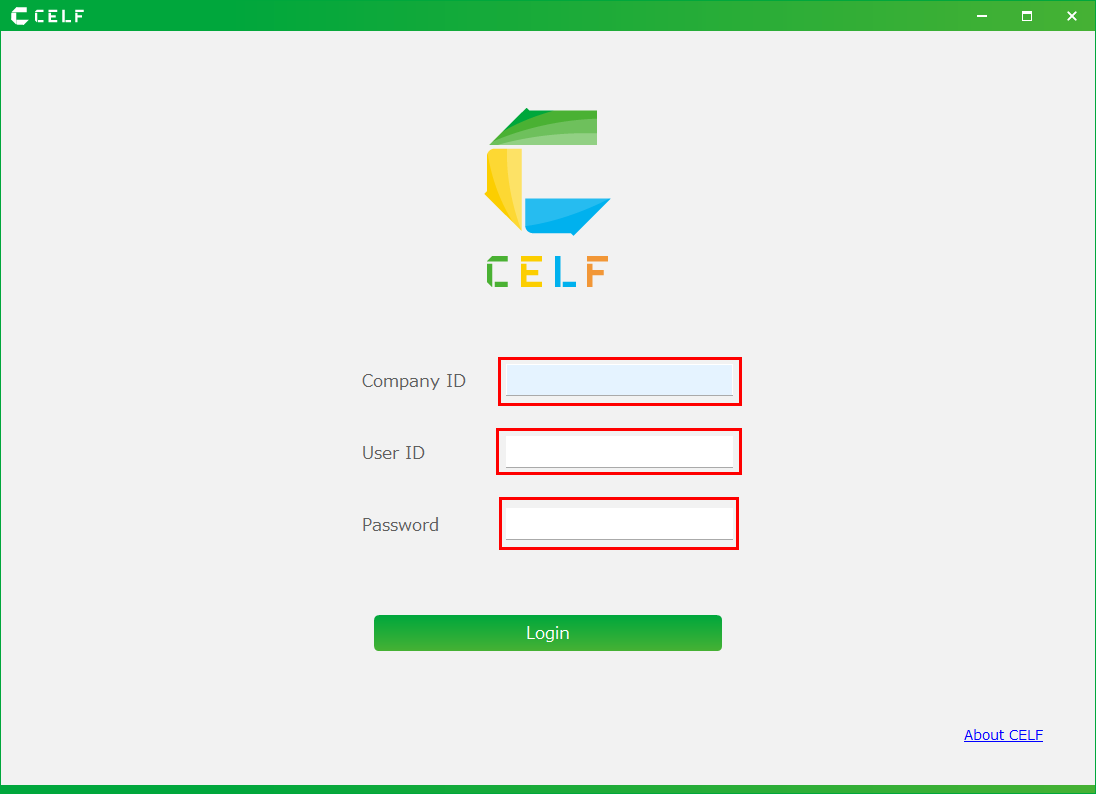
2. On the login screen, enter the “Company ID”, “User ID”, and “Password” of the “CELF authentication information” separately notified.
Let’s use CELF!
 |
If you are using CELF trial version for the first time, please find and click the “Getting Started” app to run after logged in, and find the resources to learn CELF. |
Install the CELF RPA option! [ For users who need it ]
You will be able to use “robot” actions to automate operations.
Please perform the following installation.
| WHO SHOULD INSTALL | WHAT WILL HAPPEN | WHERE WAS IT INSTALLED | |
|---|---|---|---|
| Extension Option | CELF Administrators of your Corp | A robot tab will be added to the action set settings screen of CELF. *If you are a trial user, you do not need to do anything because it is already installed. |
CELF *Log in to CELF to install |
| Runtime | App developers App Users |
The CELF app using robot actions will now work. * It is assumed that the extension option has been installed. * If RPA Runtime has not been installed, it will be automatically installed when running related action. |
Computers that run CELF |
< Installing the RPA extension option(for CELF administrators)>
* If you are on a trial, this work is unnecessary because it has already been installed.
1. Download the RPA Extension Option.
2. Install (register) the downloaded RPA extension option on your CELF.
Please refer to the CELF help below for registering extended options.
https://cloud.celf.jp/celf-help/en/texts/settings/register_external_option/register_external_option.html
See below for updating your extension.
https://cloud.celf.jp/celf-rpa-help/en/texts/get_started/install/extension-vup.html
Let’s use robot actions!
For information on how to use the robot actions added by the CELF RPA extension option, please refer to the CELF help below.
